Introduction To Darktable Photo Editing Tutorial
Darktable is free and open-source software. It allows you to manage and edit digital photos in a non-destructive way. It supports a wide range of formats, including raw files. It offers many features. These include color correction, contrast change, noise reduction, sharpening, cropping, rotation, and more. You can also apply various filters and effects to your images. These include black and white, sepia, vignette, and HDR.
Darktable is a useful and powerful tool for photographers. It gives them full control over their workflow and image quality. Darktable does not change the original image files. Unlike some other photo editing software. Instead, Darktable stores the editing history in a separate database. This means you can always revert to the original state of your images. You can also apply different edits to different versions of the same image. Darktable also allows you to work with many images at once. You can batch process them with presets or styles. Darktable also has a modular and flexible interface. You can customize it to suit your preferences and needs.
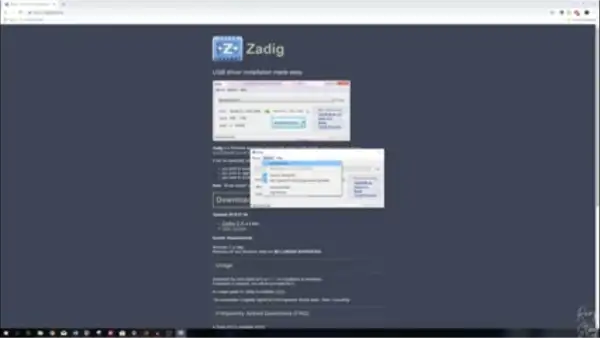
To install Darktable on different operating systems, visit its official website. Download the appropriate installer for your system. Darktable is available for Windows, Mac OS, and Linux operating systems. The installation process is usually straightforward and simple. You can also find detailed instructions and troubleshooting tips on the website. There are links to other sources of information and support.
How to import, organize, and manage your images in Darktable?
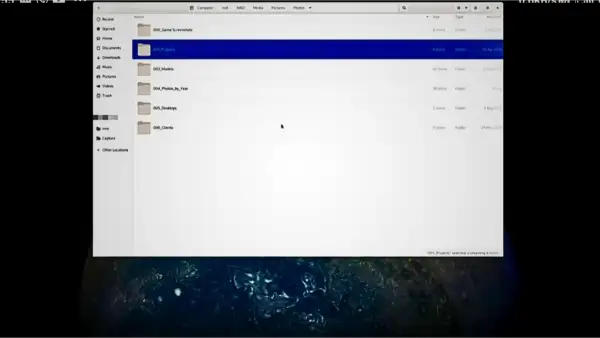
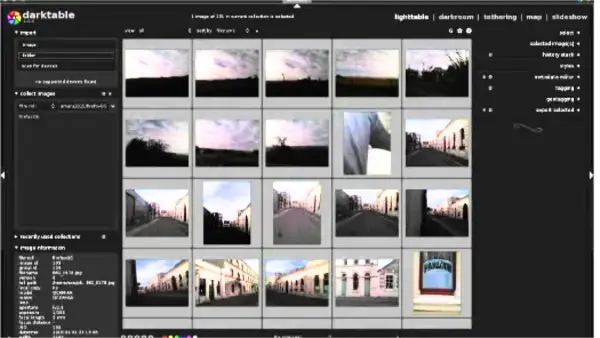
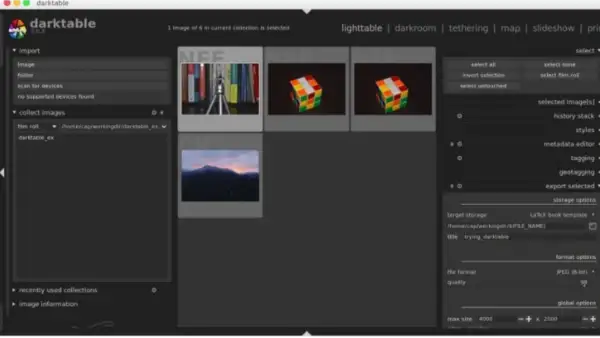
Import, organize, and manage your images. To import your images into Darktable, you can either drag and drop them from your file manager. Or, use the import button on the top panel. You can also import images directly from your camera or memory card.
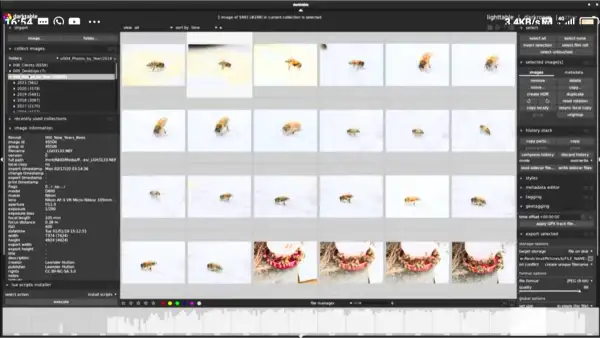
Use the camera icon on the right panel. Once you have imported your images, you can organize and manage them using the lighttable module. You can use the collect images panel on the left to filter your images by various criteria. These include folder, date, rating, color label, tag, and metadata. You can also use the filmstrip panel on the bottom to navigate through your images. Use the selected image panel on the right to view and edit the image information. This includes the filename, size, format, exposure, aperture, focal length, ISO, and more. Click here for more darktable tutorial
You can also use the lighttable module to perform some basic operations on your images. These include rating, labeling, tagging, grouping, copying, moving, renaming, deleting, and exporting.
How to use the lighttable and darkroom modules to view and edit your images non-destructively?
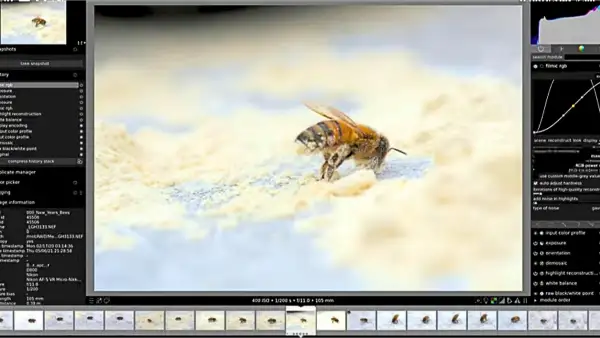
You can view and edit your images non-destructively. You can use the darkroom module. You can switch to the darkroom module by double-clicking on an image in the lighttable module. You can also use the darkroom icon on the top panel. You can also use the keyboard shortcut D to enter the darkroom module, and L to exit it.
The darkroom module has three main panels. The center panel lets you view and zoom in on your image. The left panel gives you access to the history stack, snapshots, styles, and presets.
The right panel lets you access the image operations, or modules, to edit your image. We organize the image operations into five groups. They are: basic, tone, color, correction, and effects.
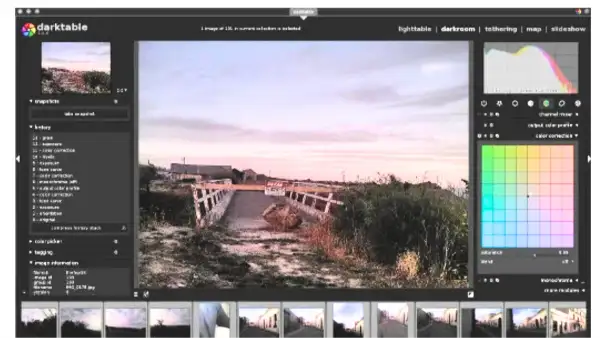
You can expand or collapse each group by clicking on its name. You can enable or disable each module by clicking on its power icon. You can also change the order of the modules by dragging and dropping them. You can also use the more modules button on the bottom of the right panel.
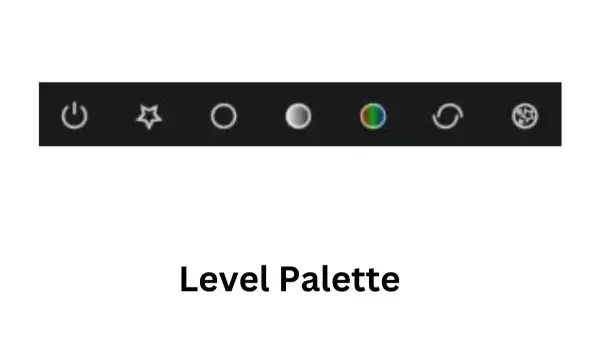
You can also access the module search function by using the magnifying glass icon on the top right of the panel or by pressing Ctrl+F. To edit your image, adjust each module’s parameters using sliders, curves, color pickers, masks, or blend modes.
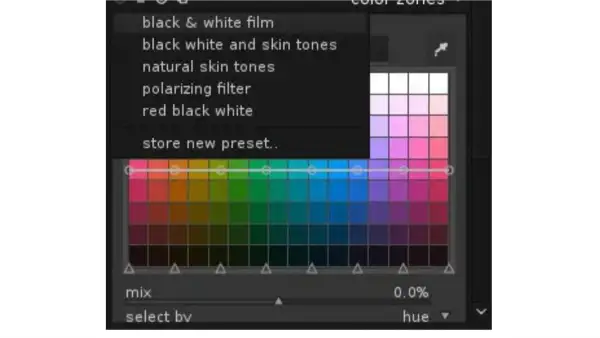
You can also use the mouse wheel, the arrow keys, or the keyboard shortcuts to fine-tune the values. You can reset the parameters of each module by using the reset button on the top of the module or the keyboard shortcut Ctrl+R. As you edit your image, you can see the changes in the center panel.
You can also compare the before and after states of your image by using the snapshot panel on the left. You can also use the history stack panel to undo or redo your edits, or to compress the history stack to save memory. You can also use the styles and presets panels to apply or create predefined sets of edits to your image.
You can also use them to edit other images in your collection. After editing your image, click the save button on the top panel. Or, use the keyboard shortcut Ctrl+S to save your changes. To export your image to another format, click the export button on the top panel. Or, use the keyboard shortcut Ctrl+E.
How to use the map, tethering, print, and slideshow modules to enhance your workflow and output?
Enhance your workflow and output by using the other modules that Darktable offers. You can use the map, tethering, print, and slideshow modules. You can access these modules by using the icons on the top panel. Or, you can use the keyboard shortcuts M, T, P, and S.
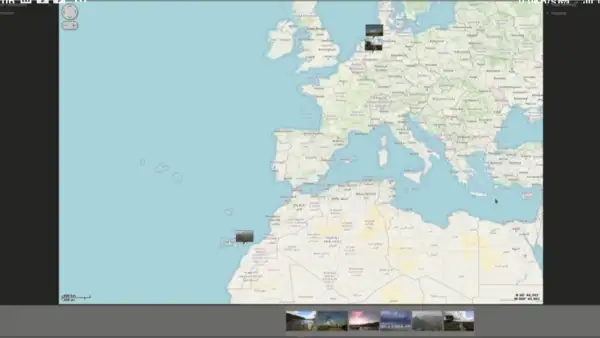
The map module allows you to view and geotag your images on a map. It uses the OpenStreetMap service. You can use the map panel on the left to zoom in and out of the map, and to select a location by clicking on it.
You can also use the images panel on the right to view and drag the images that have GPS coordinates to the map. You can also assign GPS coordinates to the images that do not have them. You can also use the filter panel on the bottom to filter your images by location, distance, or time.
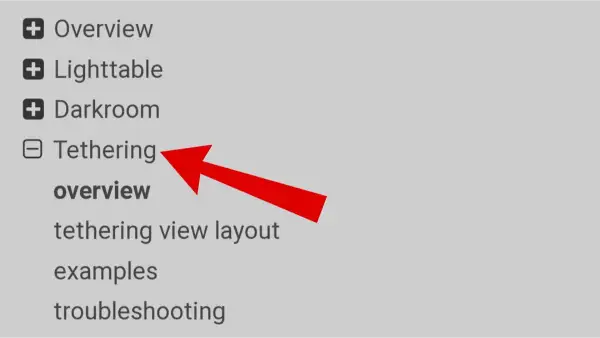
The tethering module allows you to connect and control your camera. It uses the gPhoto2 library. You can do this from your computer. You can use the camera settings panel on the left to adjust the settings of your camera. These settings include aperture, shutter speed, ISO, white balance, and more. You can also use the capture panel on the right to take a picture with your camera. You can also view and import the image to Darktable.
You can also use the live view panel on the bottom to see what your camera sees, and to focus and zoom in on your subject. The print module allows you to print your images using the CUPS service.
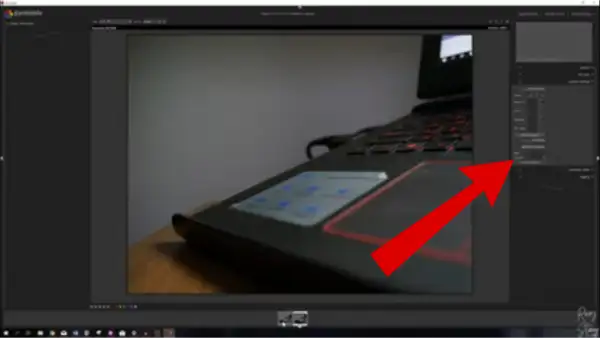
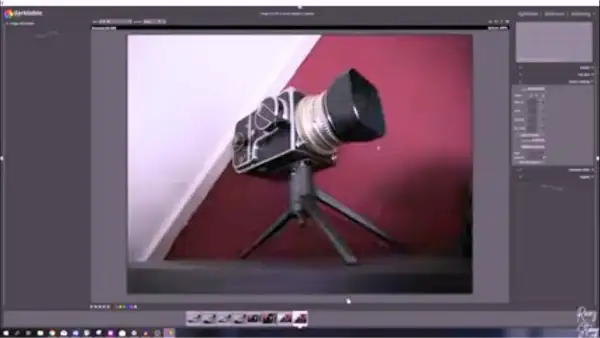
You can use the print settings panel on the left. Select the printer, the paper size, the orientation, the margins, the profile, and the intent. You can also use the image settings panel on the right. Adjust the size, position, rotation, and borders of your image.
You can also use the preview panel on the bottom to see how your image will look on the paper. You can also apply a watermark or a metadata overlay to your image. The slideshow module allows you to create and play a slideshow of your images, using the SDL library. You can use the slideshow settings panel on the left. Select the images, the delay, the transition, the style, and the music for your slideshow.
You can also use the keyboard shortcuts to control the slideshow. For example, press space to pause or resume. Press left or right to go to the previous or next image. Press up or down to increase or decrease the delay. Use F11 to toggle fullscreen and Esc to exit the slideshow.
How to customize Darktable’s preferences, settings, and shortcuts to suit your needs?
To customize Darktable’s preferences, settings, and shortcuts, use the preferences dialog. You can access the preferences dialog by using the preferences icon on the top panel. You can also use the keyboard shortcut Ctrl+P. The preferences dialog has four tabs: core options, CPU/GPU/memory, GUI options, and shortcuts.
The core options tab allows you to change Darktable’s general settings. You can change the language, theme, database, and cache. You can also change the backup, session, import, export, metadata, tags, rating, color management, security, and miscellaneous options.
The CPU/GPU/memory tab allows you to change Darktable’s performance settings. You can adjust CPU threads, GPU support, OpenCL, memory, pixelpipe, quality, demosaic, and denoise options. The GUI options tab allows you to change the appearance and behavior settings of Darktable. You can adjust the layout, panels, modules, tooltips, overlays, fonts, colors, mouse, and keyboard. You can also adjust miscellaneous options.
The shortcuts tab allows you to change the keyboard and mouse shortcuts of Darktable. You can change the global, views, modules, widgets, and presets shortcuts. You can also use the import and export buttons to load or save your shortcuts to a file.
How to access Darktable’s user manual, FAQ, and community resources for more help and tips?
Access the user manual, FAQ, and community resources:
To access the user manual, FAQ, and community resources of Darktable, you can use the help icon on the top panel. You can also use the keyboard shortcut F1.
This will open the user manual in your web browser. There, you can find detailed information for using Darktable. It also includes instructions for using its features. You can also use the search function. It’s in the top right corner of the user manual.
Use it to find the topics that interest you. You can also access the FAQ section of the user manual. There, you can find the answers to some of the most common questions and issues that users have with Darktable. You can also access the community resources of Darktable.
These include the website, blog, forum, and mailing list. Also, the IRC channel, bug tracker, code repository, wiki, translations, donations, and social media. You can find the links to these resources on the bottom of the user manual. You can also find them on the about dialog. To open the about dialog, click the about icon on the top panel. You can also use the keyboard shortcut Ctrl+A.
Conclusion
Darktable is free and open-source software. It allows you to manage and edit your digital photos in a non-destructive way. It supports a wide range of formats, including raw files. It offers many features. These include color correction, contrast change, noise reduction, sharpening, cropping, rotation, and more. You can also apply various filters and effects to your images. For example, black and white, sepia, vignette, and HDR. Darktable is available for Windows, Mac OS, and Linux operating systems. You can easily install it by following the instructions on its official website.
Darktable is a useful and powerful tool for photographers. It gives them full control over their workflow and image quality. Darktable does not change the original image files. Unlike some other photo editing software. Instead, it stores the editing history in a separate database. This means you can always revert to the original state of your images. You can also apply different edits to different versions of the same image. Darktable also lets you work with many images at once. You can batch process them with presets or styles. Darktable has a modular and flexible interface. You can customize it to suit your preferences and needs.
Darktable also offers other modules that enhance your workflow and output. These include the map, tethering, print, and slideshow modules.
You can use these modules to: – view and geotag your images on a map – connect and control your camera from your computer – print your images using the CUPS service – create and play a slideshow of your images using the SDL library.
I have provided some examples of images edited with Darktable. You can see how Darktable can transform your images with just a few clicks and adjustments. You can also find more examples and tutorials on the Darktable website. You can also find them on the blog, forum, and social media.
Thank you for reading this article, and happy editing with Darktable!
