How To Edit Photos In GIMP – Photo Editing GIMP
In the digital age, image editing has become an important skill for photographers,graphic designers and other creative enthusiasts.The open source Photo Editing GIMP (GNU picture manipulation programme) software is strong and adaptable and provides a variety of tools and capabilities.In this comprehensive guide ,we will explore various techniques and tips to improve your GIMP editing abilities.From basic cropping to more advanced jobs like perspective correction and sky replacement.
How to Crop in GIMP
Cropping is a simple yet essential image editing process which allows you remove extraneous elements from an image and focus on the subject.To crop an image in GIMP, open the image and select the “Crop Tool” from the toolbox. Click and drag the cursor to create a selection around the area you want to keep.you may fine tune the crop by modifying the selection handles.when you are satisfied with your choice ,Press Enter to apply the .Cropping helps improving the composition and removing unwanted elements, makes an image more visually appealing.
How to Straighten the Horizon in GIMP
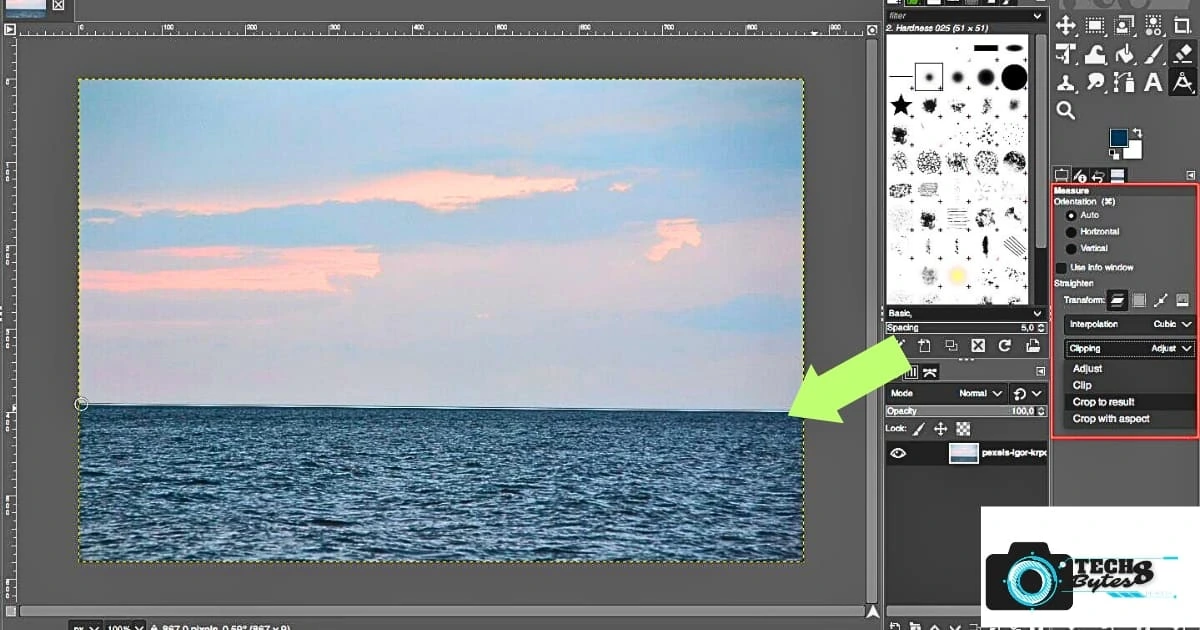
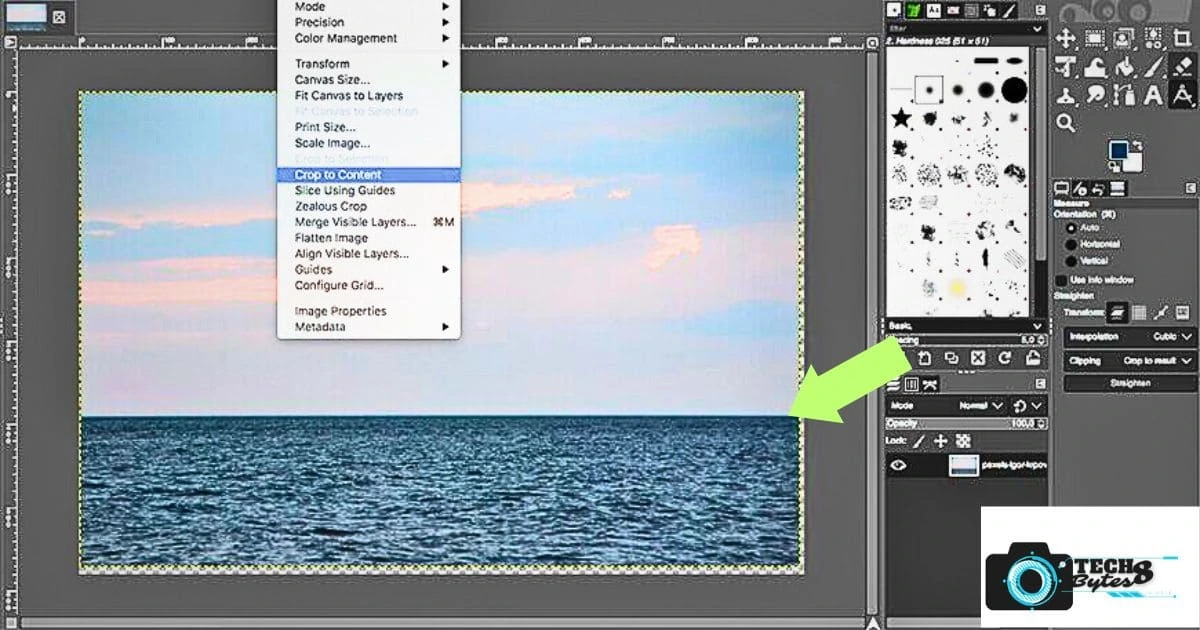
The tilted horizon can disrupt tha balance of a picture .It must be fixed in order to create a harmonious composition.To straighten the horizon in GIMP, open the image and use the “Measure Tool” to draw a line along the horizon. Then, go to “Image” > “Transform” > “Arbitrary Rotation.” GIMP will automatically calculate the angle needed to straighten the image based on your drawn line.Click rotate to make the adjustment. this technique is especially helpful for Landscape and architectural photography,ensuring that your horizons are level and visually appealing.
What is GIMP Resynthesizer:
GIMP Resynthesizer is a powerful plugin that makes content aware fill and object removal easier. Using Resynthesizer you can effortlessly remove undesirable objects from your image .To use it, install the plugin from the GIMP plugin repository and draw a selection around the object you want to remove. Then, go to “Filters” > “Map” > “Resynthesize” and click “OK.”GIMP will examine the adjacent pixels and intelligently fill the chosen area to make it appear as though was never there.Using this tool ,you can save time and efforts when removing distracting elements from your images.
How to Correct White Balance in GIMP:
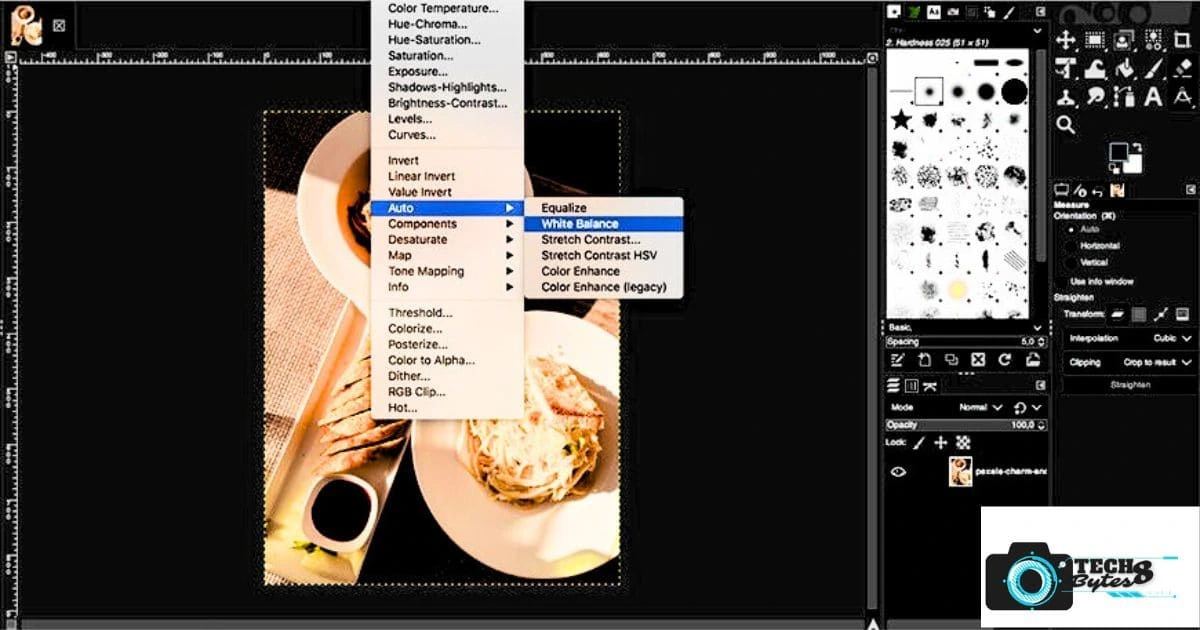
White balance correction provides accurate colours in your photographs,when lighting conditions alter colour temperature.GIMP users can adjust white balance by opening the image and go to “Colors” > “Color Balance.”The sliders for midtones, highlights, and shadows can all be adjusted to precisely control the colour temperature.Alternately, you can alter the overall colour balance using the “Levels” or “Curves” tool.Proper white balance improves the realism and aesthetics of your images ,which increases their visual appeal.
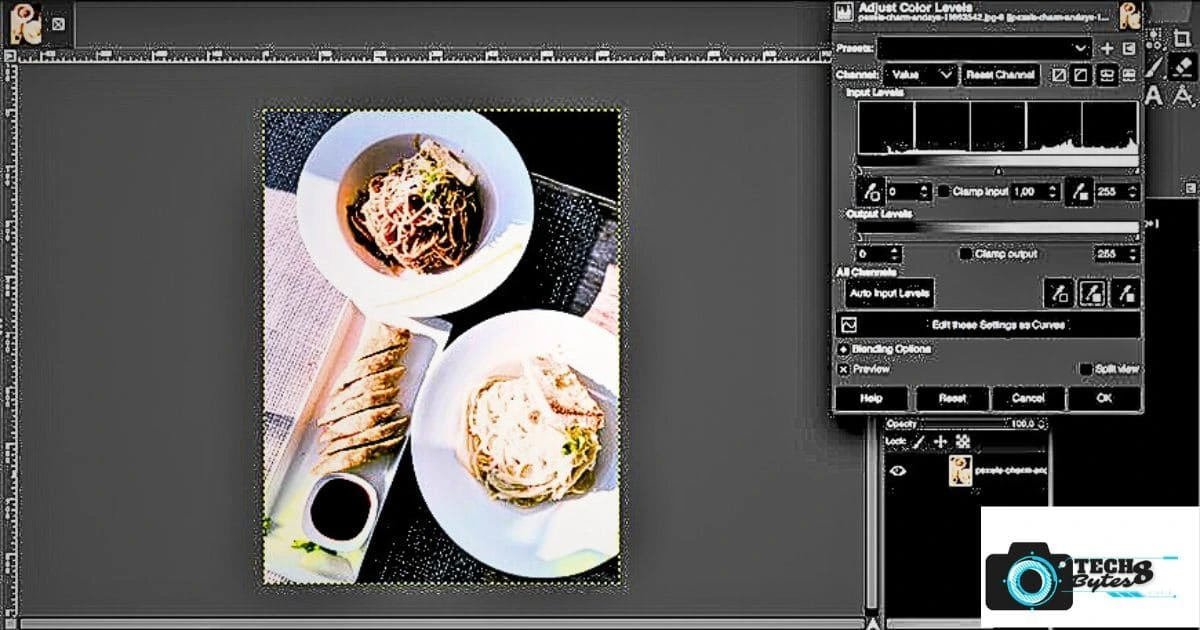
How to Improve a Photo with GIMP:
A variety of GIMP editing techniques can be used to improve a photo’s overall appearance. You can start by altering the brightness,contrast ,and saturation to bring out the best colours and tones.
Experiment with filters to add creative effects or use layer blending modes to create unique looks.Tools like sharpening and noise reduction can help improve image clarity minimise unwanted artifacts .Be mindful not to overprocess as this may lead to unnatural results.With some practice and a creative eye,you will learn to turn ordinary images into visually striking masterpieces.
How to Edit Portraits in GIMP:
Portrait editing feature in GIMP let’s you to enhance the personality and beauty of your subjects.Start by retouching the skin gently ,using the Heal Tool to erase blemishes and flaws.Use the Dodge and Burn tool to highlight and shadow specific areas.
With the right technique you may also brighten your eyes,whiten your teeth,and even change the colour of your eyes. avoid over editing and maintain a natural appearance .You can bring out the best in your subjects and produce beautiful portraits,with GIMP’s Portrait Editing Features.
How to Add Fonts to GIMP
Expanding your font library in GIMP allows you to explore various typography styles and creative options.To add fonts to GIMP, download and extract the font files to your computer. Then, go to “File” > “Preferences” > “Folders” > “Fonts” in GIMP.Select Add and then navigate where your downloaded fonts are located.Once added ,Your new fonts will be accessible for usage in the text tool after they have been numerous font options provide you countless creative possibilities for your project.
How to Change an Image to Black and White in GIMP:
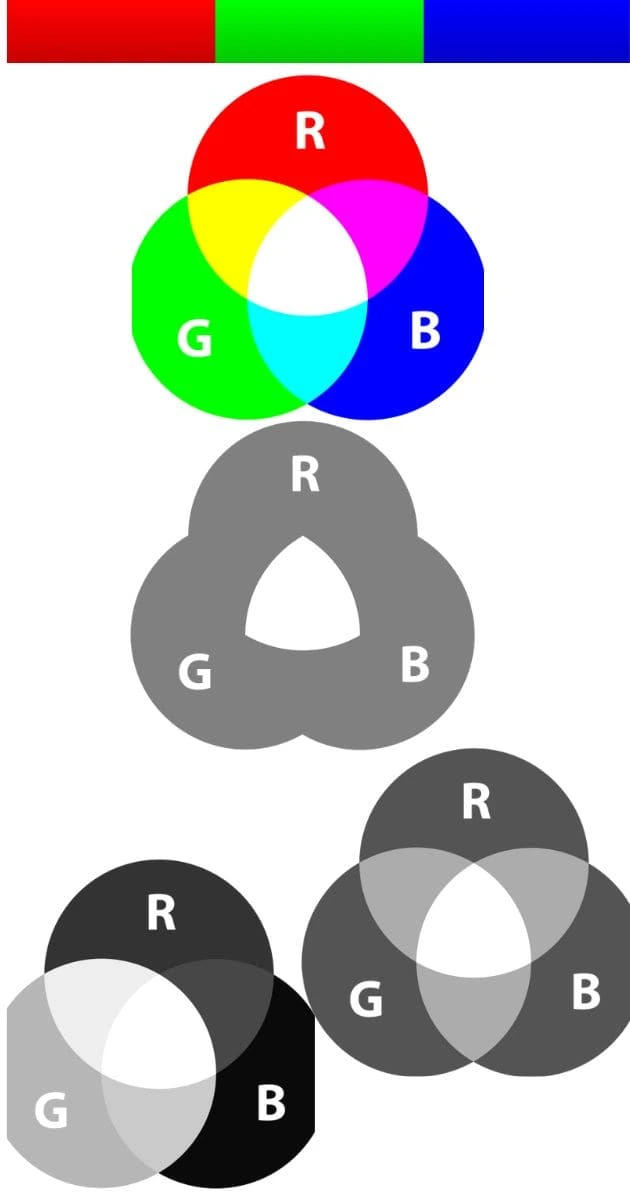
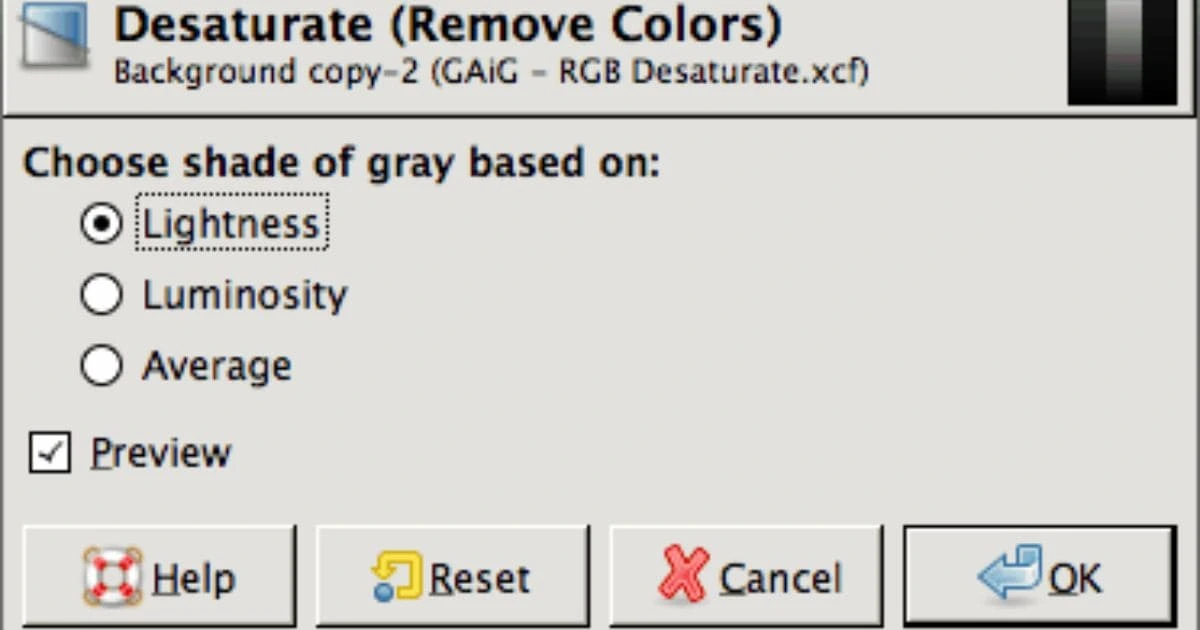
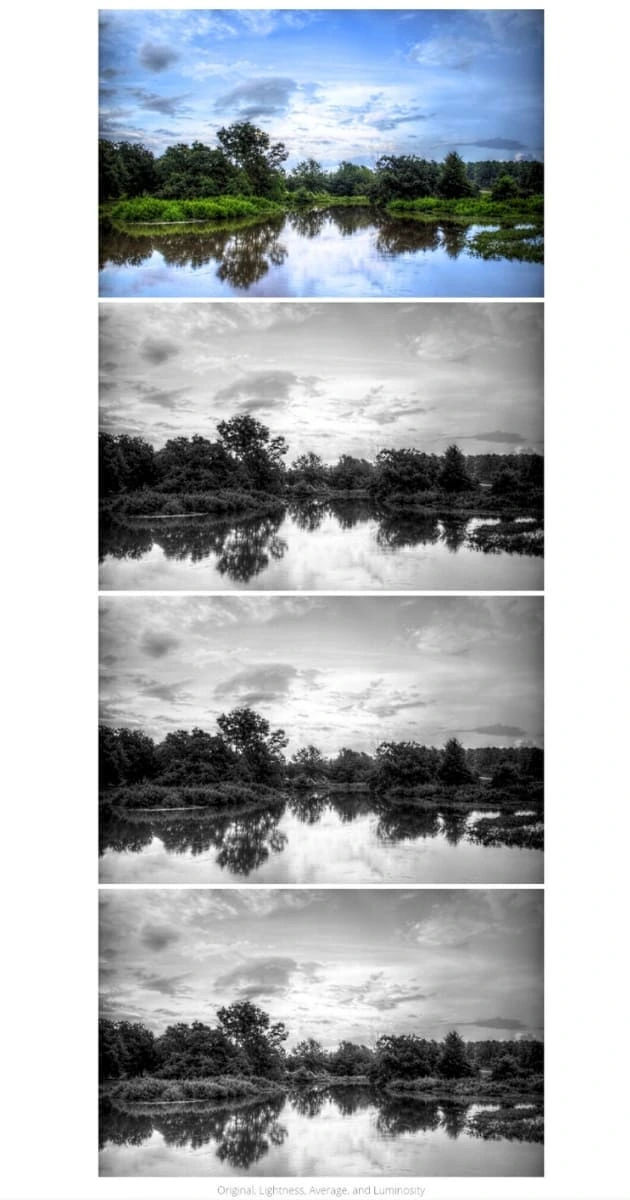
Your photography will gain a classic and artistic touch by being converted to black and white.In GIMP , this can be done by using the Desaturate feature ,which strips the image of its colour information.However ,take into account using the Channel Mixer tool for better control over tonal levels.By adjusting red,green ,and blue channels ,you can create various Balck and white effects with different contrast levels and moods.Since shapes, textures, and contrast are highlighted in black and white photography, you can evoke feelings and add depth to your images.
How to Remove Background in GIMP:
Removing Backgrounds in GIMP is a important skill for composting and isolating subjects.To remove a background , open the image and choose the “Foreground Select Tool” or “Fuzzy Select Tool” from the toolbox. Draw a precise border around the subject you want to keep.
By modifying the feathering and anti aliasing settings.once the subject is selected,press Delete to remove the background.The subject can then be placed on a different background or left with a opaque background.This method is quite helpful, for creating product photos, collages and graphics for marketing materials.
How To Edit Raw Photos in GIMP:
When working with RAW images in GIMP, you can keep more image data and perform non-destructive editing.To edit RAW photos in GIMP, import the RAW file into the software using RAW image editor.GIMP’s RAW editor allows you to adjust exposure,color temperature, white balance and other settings before converting the image to a more widely used format like JPEG or PNG.
Raw editing preserves the images dynamic range ,allowing you to make substantial alterations without sacrificing image quality.it is an important technique for professional photographers who want precise control over there image editing process.
How To Fix Perspective in GIMP:
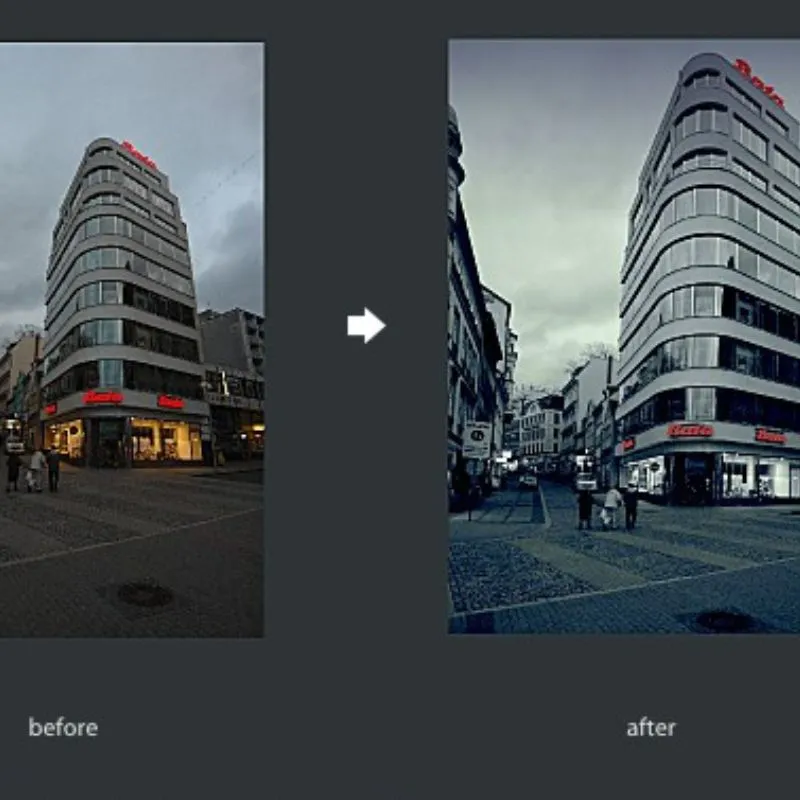
When photographing buildings or other structures at an angle, perspective distortion may appear in architectural or landscape images.To correct perspective in Gimp ,Open the image and use the “Perspective Tool.”Drag the corners of the tool to match the lines of the object or building you want to correct.GIMP will automatically adjust the perspective to make the lines parallel and the ite to look more realistic .This techniques is crucial for architectural photography and ensures that buildings will appear proportionate and in alignment.
How To Replace the Sky in GIMP:

You can give your photographs new life and produce attractive settings by changing the sky in GIMP. To replace the sky, open the image and use selection tools to isolate the original sky. Next, add the new sky image as a new layer and position it below the original layer.
Use layer masks to blend the two layers seamlessly .Adjust the opacity and use soft brushes to create natural transitions between the new sky and the original scene.Replacing the sky ,you can make striking and eye catching images that evoke various emotions and atmospheres.

What is Clone Tool GIMP:
The Clone Tool in GIMP allows you to duplicate a part of an image and paint it over another area, perfect for removing distractions or imperfections. It works similarly to a brush but copies pixels
How to Use GIMP on iPhone Photo Editing
GIMP is a free and open-source image editor available for GNU/Linux, macOS, Windows, and more operating systems.However, GIMP is not available for iPhone or other mobile devices. in 2018, XGimp was released as many GIMP users were asking for a mobile version,
XGimp is an app that allows you to run GIMP remotely. But Unfortunately, it hasn’t received good response from users . Since there are other apps specifically designed to work on a smartphone.
Depending on user preferences and requirements, you can find many free and paid options for iPhone. One of the most popular apps for straightforward photo editing is Snapseed, which also supports raw photos.You can use other photo editing apps on your iPhone to edit photos.
What is gimp draw circle
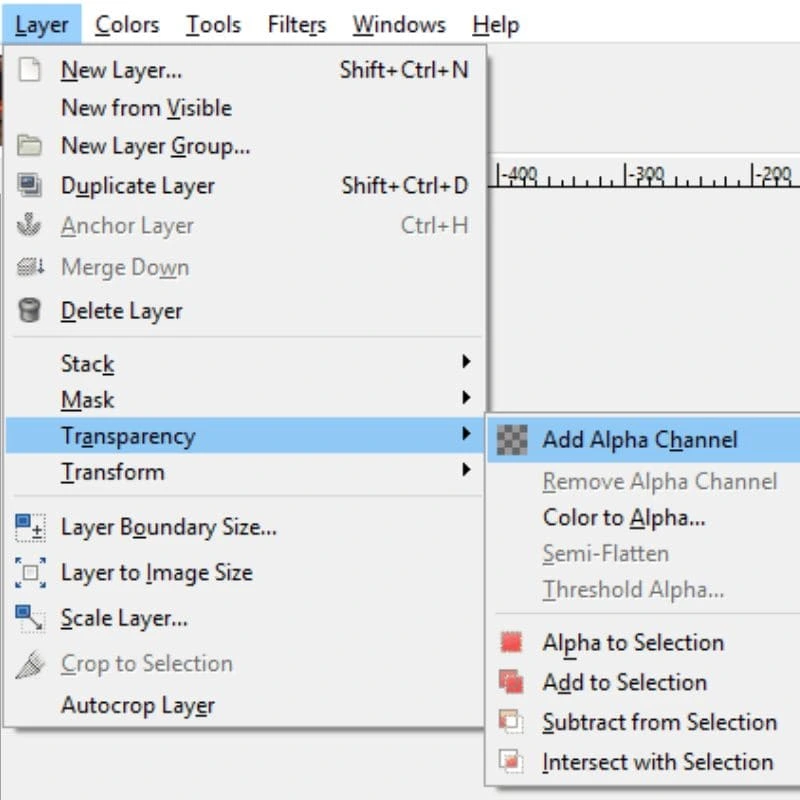
There are various techniques for drawing circles in GIMP. One way is to use the Ellipse Select Tool (keyboard shortcut: E) and filling the selection with your foreground color are two options. The Ellipse tool can be used to design a hollow circle on a new layer as well.
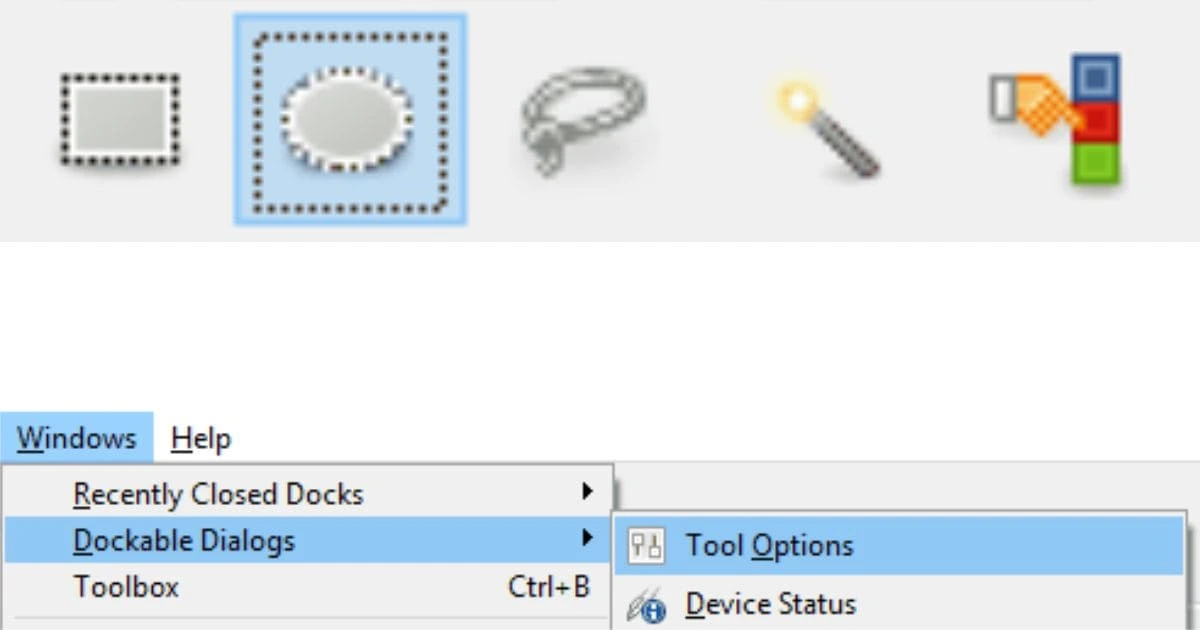
Alternatively you can use the path tool to create a vector ,and then apply a border to it .Another option is to use paintbrush tool and setting the size and hardness settings to a desired values .In some techniques, you may need to hold Shift to make a perfect circle.
How to use GIMP on iphone
GIMP is a free and powerful image editing software that you can use on your computer. But, GIMP is not available as an app for iPhone. If you want to use GIMP on your iPhone, you have a few options:
You can use a remote desktop app, such as [Jump Desktop] or [Splashtop], to access your computer from your iPhone. You can run GIMP remotely. This requires a stable internet connection and some configuration on both devices.
You can use a web-based version of GIMP, like [Photopea] or [Pixlr]. It runs in your browser and has the same features as GIMP. These websites are compatible with iPhone and do not need installation or registration.
You can use an alternative photo editing app for iPhone. For example, you could use [Snapseed] or [Photoshop Express]. They offer some of the common tools and techniques that you can use in GIMP. These apps are easy to use and have a variety of filters and effects.
How do I edit photos on iPhone without an app?
There are a few ways to edit photos on your iPhone without using any third-party apps. Here are some of them:
You can use the built-in Photos app to edit your photos. It has various tools and filters that you can apply to your photos. For example, you can crop, rotate, adjust brightness, contrast, saturation, and more. To access the editing features, open the Photos app. Tap on the photo you want to edit. Then, tap Edit at the top right corner. You can also learn more about how to use the Photos app to edit your photos from this guide.
You can use the Markup tool to draw, add text, or shapes to your photos. To use the Markup tool, open the Photos app, tap on the photo you want to edit, and then tap Edit at the top right corner. Next, tap on the three dots icon at the bottom right corner and select Markup. You can also learn more about how to use the Markup tool from this article.
You can use the iMovie app or the Clips app to create videos from your photos. These apps allow you to add transitions, effects, music, and more to your photos. You can turn them into movies or clips. To use these apps, you need to download them from the App Store. You can also learn more about how to use the iMovie app from this website and how to use the Clips app from this website.
How do I add filters to my photos on iPhone?
There are a few ways to add filters to your photos on iPhone. You can use the built-in filters in the Photos app. Or, you can download third-party apps that offer more filter options. Here are some steps to follow:
To use the built-in filters in the Photos app, open the app and tap on the photo you want to edit. Then tap Edit at the top right corner and tap the Filters icon (three interlocking circles) at the bottom. Swipe to scroll through the filters and tap on the one you want to apply. Tap Done to save your changes. You can also learn more about how to use the Photos app to edit your photos from this guide.
To use third-party apps that offer more filters, you need to download them from the App Store. Some popular apps are Flare Effects, Fotograf, Snapseed, and Photoshop Express. To use these apps, open the photo you want to edit in the Photos app and tap Edit. Then tap the More icon (three dots) at the top right corner and select the app you want to use. You can then choose from the filters offered by the app and apply them to your photo. Tap Done to save your changes. You can also learn more about how to add new iPhone photo filters to the Photos app from this article.
Photo Editing GIMP Conclusion.
With this comprehensive tutorial,You are now fully capable of using GIMP as a powerful and versatile image editing tool.From basic editing techniques,you now possess the knowledge to improve your photos ,make gorgeous designs and unleash your creativity .As you continue to explore vast capabilities of GIMP ,you will discover even more ways to bring your artistic visions to life.
Topic On Canva New Features You May Also Like
Topic On Rawtherapee Tutorial You May Like
Topic On Darktable Tutorial You May Also Like
